Dog Washing Tips for a DIY Dog Bath with Professional Results
Emma Davis Tags:For the discerning dog parent, balancing love for your furry family member and maintaining a pristine, clean home may seem like a daily challenge. However, with expert dog washing tips and professional dog grooming techniques, achieving a DIY dog bath with professional results is well within reach.
Understanding your dog's specific needs forms the cornerstone of a successful grooming routine. Dog breeds, much like our children, each come with their unique traits and quirks. While a Labrador might enjoy a splash in the pond, a Pomeranian may prefer to keep their long, luxurious coat dry and clean. Tailoring your approach to suit these preferences can make a world of difference.
Next, consider the importance of preparation. Just as you would ensure all ingredients are available before starting a family dinner, you need to gather your dog bathing supplies beforehand. Essentials like dog-friendly shampoo, a large towel, a suitable brush, a detachable shower head or pitcher, cotton balls for ears, and a non-slip mat should be on hand before you begin.
A useful tip, particularly relevant for those with longer-haired breeds, is to brush your dog before bathing. This pre-bath grooming session aids in detangling their coat and reduces the amount of hair shed during the bath, making the subsequent clean-up much easier.
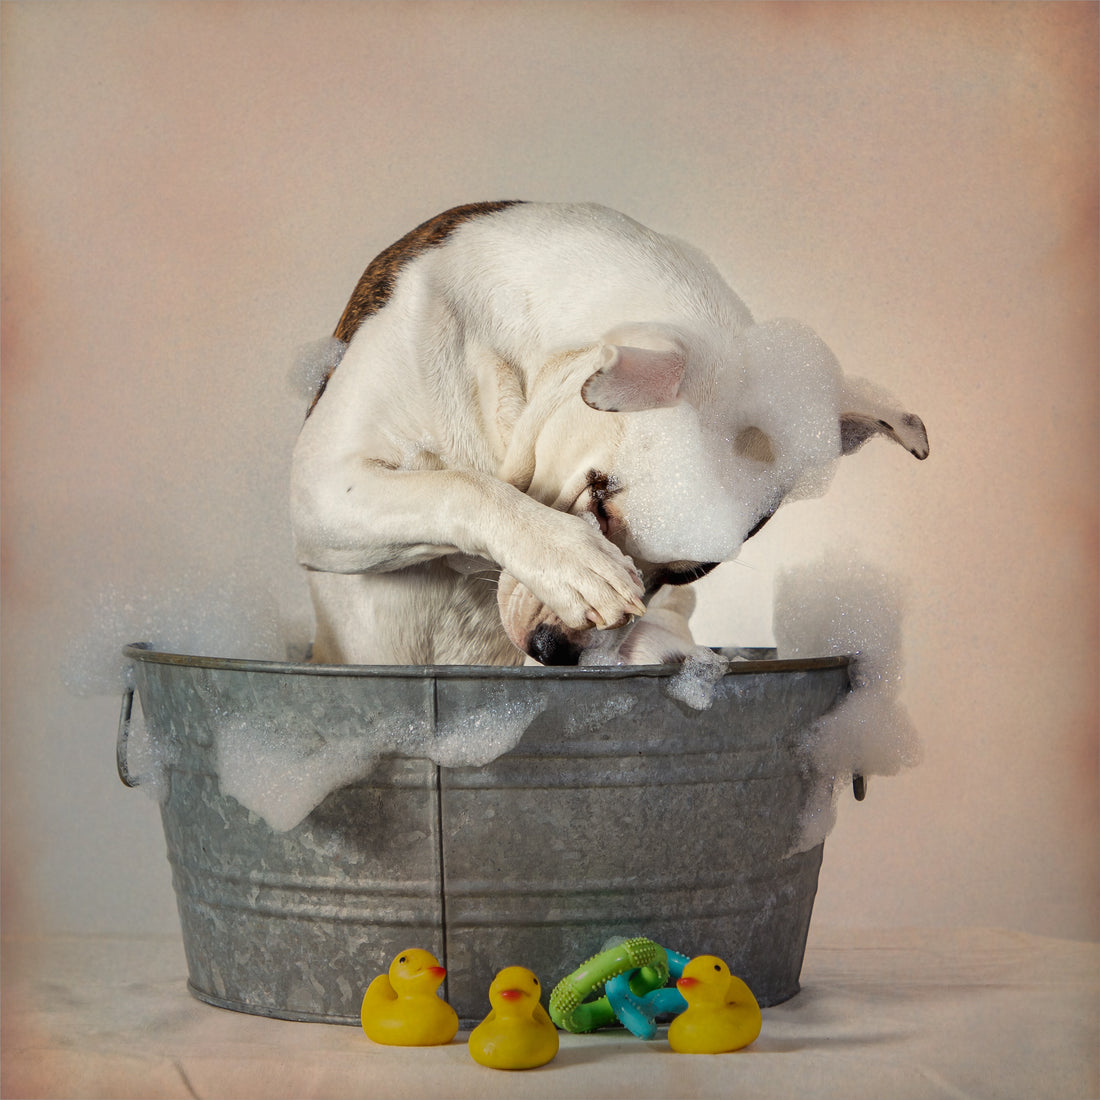
Bathing can be an unsettling experience for dogs, particularly those not familiar with the process. By creating a calming environment, you can alleviate much of this anxiety. Speak in soothing tones, offer treats during the process, and use a rubber mat in the tub or sink to prevent your pet from slipping.
The water temperature for your dog's bath should be lukewarm, not unlike the optimal temperature for a baby's bath. Ensuring the water is not too hot or cold will create a more enjoyable experience for your dog and reduce their reluctance towards future baths.
When it comes to washing, applying professional dog grooming techniques can truly elevate the experience. Begin by wetting your dog's body, excluding the head initially. Next, gently massage a dog-friendly shampoo into their coat from neck downwards, ensuring you avoid their eyes, ears, and mouth. Rinse thoroughly until the water runs clear to prevent any residual shampoo from causing skin irritation.
As for your dog's face and ears, exercise extra caution. Use a soft, damp cloth to clean the face and a cotton ball to gently clean the outer ear area. Never insert anything into your dog's ear canal.
Drying your dog properly is as crucial as the bath itself. Use a large towel to pat their fur dry, being careful to avoid rubbing as it can cause tangling. For those with long-haired breeds, a pet-friendly blow dryer on a low setting can expedite the drying process without causing discomfort.
Once your dog is dry, a post-bath grooming session will keep their coat looking its best. Brush their fur to remove any remaining loose strands and prevent tangles. This is also an ideal time to trim your dog's nails as they'll be softened from the bath.
Last but not least, maintain your dog's cleanliness between baths by using grooming wipes and regular brushing. This ongoing maintenance is crucial for your dog's overall well-being and can significantly extend the time between baths.
Armed with these dog washing tips and professional grooming techniques, you can elevate the at-home grooming experience for your beloved pet. Remember, while these tips provide a solid foundation, professional groomers are invaluable in handling more complex grooming tasks and detecting potential skin issues. Incorporate regular visits to the groomer with your at-home care for a holistic grooming routine.
Above all, your patient and compassionate approach will turn bath time into a positive bonding experience, adding to the joy of dog parenthood. With these tips, you're well on your way to achieving a DIY dog bath with professional results.